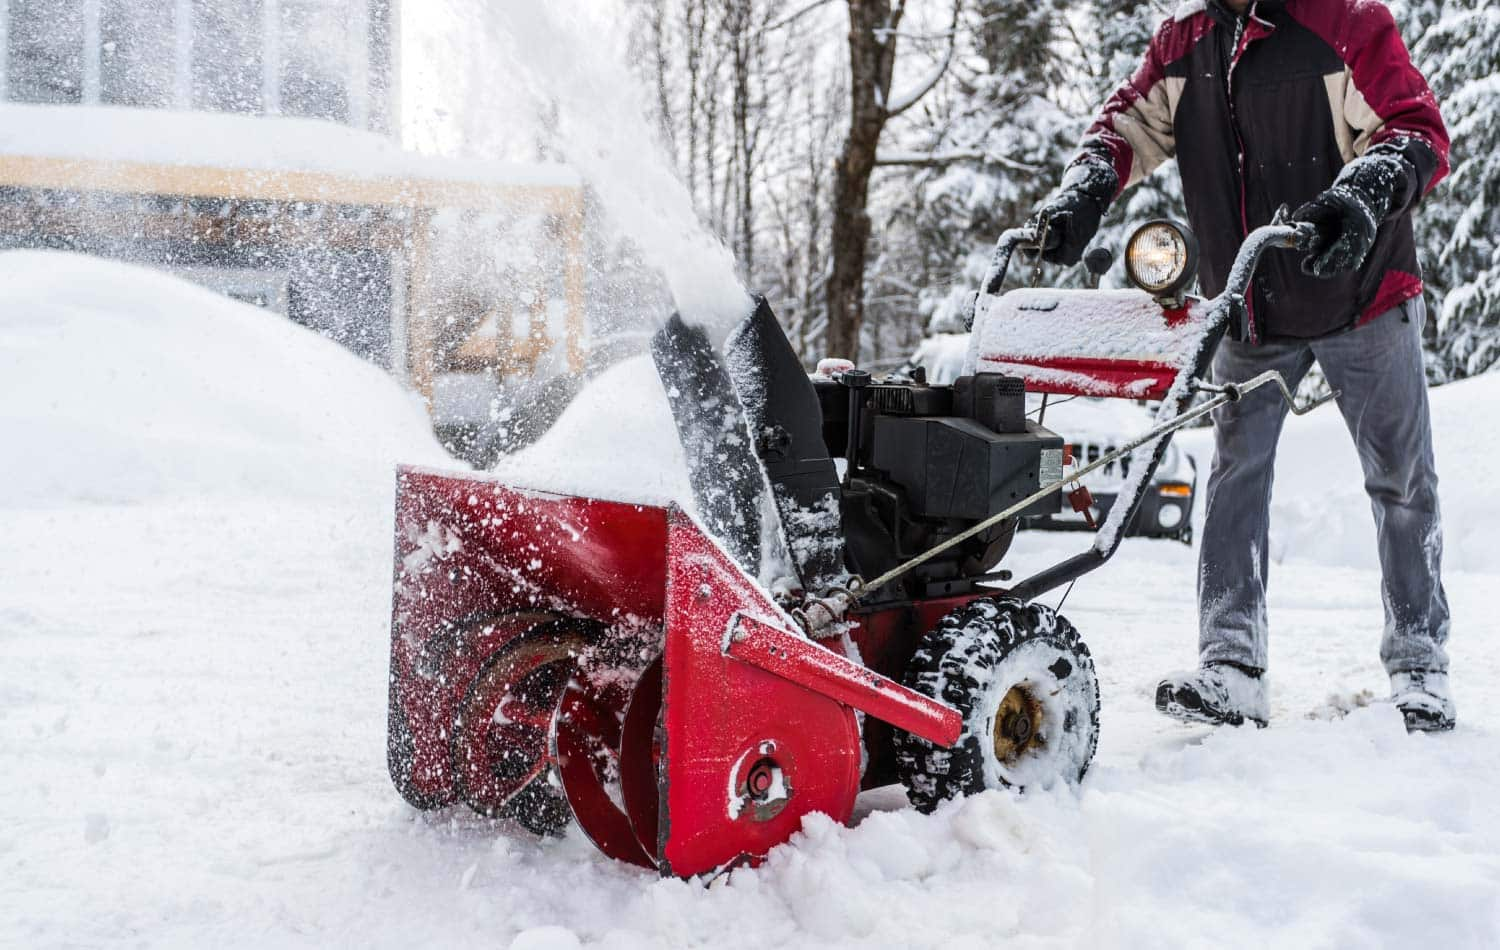
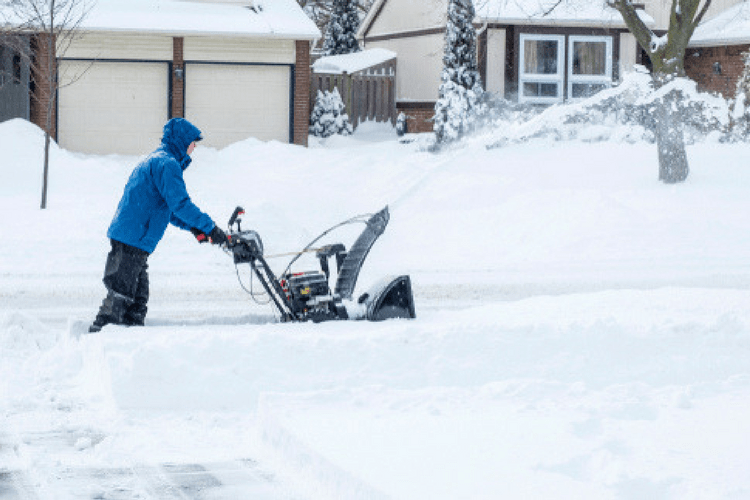
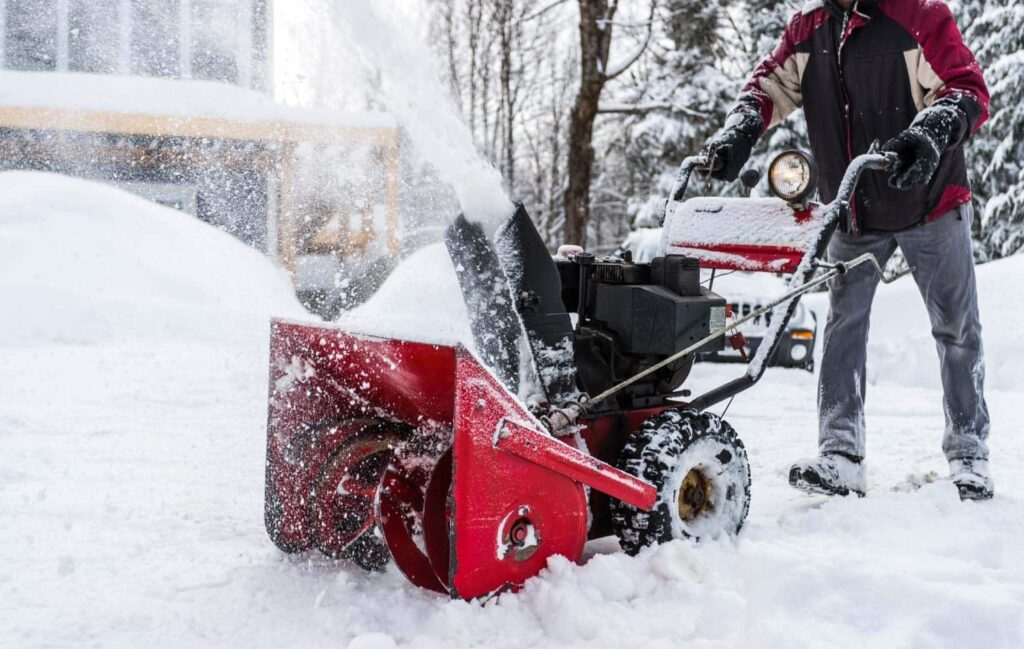
If you’re facing a snow blower that’s seen better days, don’t fret – we’ve got you covered with the top 10 tips for snow blower repair. Whether it’s a clogged chute, a spark plug that needs replacing, or a stubborn engine that won’t start, these handy tips will have your snow blower running smoothly in no time. Say goodbye to shoveling away those inches of snow and hello to a well-functioning snow blower!

1. Troubleshooting Common Snow Blower Problems
1.1 Engine Fails to Start
One common problem that snow blower owners often encounter is an engine that fails to start. This can be frustrating, especially when you’re in the middle of clearing a snowy driveway. To troubleshoot this issue, start by checking the fuel supply. Ensure that there is enough gasoline in the tank and that the fuel shut-off valve is open. If the fuel supply isn’t the problem, check the spark plug for any signs of damage or wear. A faulty spark plug can prevent the engine from starting. Additionally, check the ignition switch and make sure it’s in the “on” position.
1.2 Lack of Power
If your snow blower seems to lack power, it may be due to a few different reasons. First, check the throttle control to ensure it’s set to the appropriate speed. If the throttle control is set correctly, the issue may lie with a clogged air filter. An air filter that’s dirty or clogged can restrict airflow and affect the performance of the engine. Remove the air filter and clean or replace it as necessary to restore power to your snow blower.
1.3 Clogged Auger or Chute
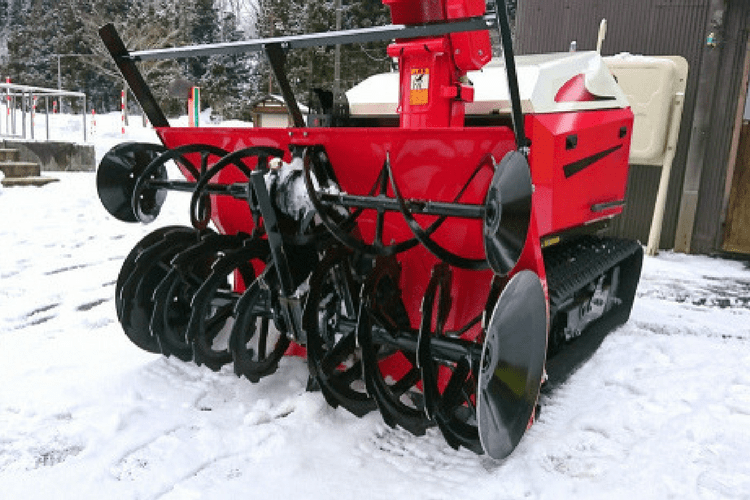
Another common problem with snow blowers is a clogged auger or chute. This can happen when snow and ice build up and prevent the snow blower from effectively throwing the snow. To troubleshoot this issue, turn off the snow blower and disconnect the spark plug wire for safety. Then, use a broom handle or other long object to clear the clog from the auger or chute. Be careful not to damage the blades or other moving parts while doing this.
1.4 Uneven Skid Height
If you notice that your snow blower is leaving an uneven layer of snow behind, the skid height may need adjustment. The skid shoes, located on the bottom of the snow blower, help determine the height at which the machine glides over the ground. To adjust the skid height, loosen the nuts holding the skid shoes in place and adjust them to the desired height. Ensure that both shoes are set at the same height to achieve an even clearing pattern.
1.5 Engine Stalls or Runs Roughly
An engine that stalls or runs roughly can make clearing snow a frustrating task. This issue can be caused by a variety of factors, including a clogged fuel filter or carburetor. Start by checking the fuel filter and cleaning or replacing it if necessary. If the fuel filter isn’t the problem, inspect the carburetor for any signs of clogging or damage. Cleaning the carburetor may help improve the engine’s performance. If these troubleshooting steps don’t resolve the issue, it’s recommended to seek professional assistance for further diagnosis and repair.
2. Regular Maintenance and Cleaning
To keep your snow blower running smoothly throughout the winter season, regular maintenance and cleaning are essential. By following these steps, you can ensure that your snow blower is always ready to tackle even the heaviest snowfall.
2.1 Changing the Oil
Regular oil changes are crucial to maintain the performance and longevity of your snow blower’s engine. Refer to your snow blower’s user manual for specific instructions on oil change intervals and the type of oil to use. Typically, oil changes should be performed at least once a season or after every 25 hours of operation. To change the oil, start by warming up the engine for a few minutes. Then, locate the drain plug on the bottom of the engine and place an oil pan underneath to catch the old oil. Remove the drain plug and allow the oil to drain completely. Once drained, reinstall the drain plug and fill the engine with fresh oil to the recommended level.
2.2 Replacing the Spark Plug
A worn or faulty spark plug can cause starting issues and affect the overall performance of your snow blower. It’s advisable to inspect and replace the spark plug at the beginning of each winter season or after every 100 hours of operation. To replace the spark plug, first, locate it on the engine – usually, it can be found near the top. Use a spark plug wrench to carefully remove the old spark plug. Check the gap on the new spark plug according to the manufacturer’s specifications and then install it by hand before tightening it with the spark plug wrench.
2.3 Cleaning the Carburetor
Over time, debris and residues can accumulate in the carburetor, leading to poor engine performance. Cleaning the carburetor regularly is essential to maintain fuel efficiency and prevent issues such as stalling or rough running. To clean the carburetor, start by disconnecting the spark plug wire for safety. Then, locate the carburetor on the engine and remove the cover. Using a carburetor cleaner, spray the inside and outside of the carburetor, focusing on the small jets and passages. Allow the cleaner to sit for a few minutes, and then use compressed air to blow out any remaining debris. Finally, reinstall the carburetor cover and reconnect the spark plug wire.
2.4 Lubricating Moving Parts
Proper lubrication is crucial to keep the moving parts of your snow blower running smoothly. Before the winter season begins, inspect the auger, impeller, and other moving parts for signs of wear or damage. Apply a lubricant specifically designed for outdoor power equipment to these parts to reduce friction and promote optimal performance. Additionally, check the wheel axles and bearings for any signs of wear and apply lubrication as necessary.
2.5 Inspecting Belts and Pulleys
Belts and pulleys play a vital role in transferring power from the engine to the auger and wheels. Regularly inspect the belts for signs of wear, cracking, or stretching. If any belts show significant wear, it’s essential to replace them to avoid unexpected failures while clearing snow. Similarly, inspect the pulleys for any signs of damage or misalignment. Adjust or replace the pulleys as necessary to ensure smooth operation.

3. Adjusting Drive Belt Tension
3.1 Identifying Belt Tension Problems
If your snow blower’s drive belt is too loose or too tight, it can affect the overall performance and functionality of the machine. Signs of a belt tension problem include the drive belt slipping or squealing during operation and poor auger or wheel engagement. It’s important to address belt tension issues promptly to prevent further damage and ensure efficient snow clearing.
3.2 Loosening and Tightening the Belt
To adjust the drive belt tension, refer to your snow blower’s user manual for specific instructions as the process may vary depending on the make and model. Generally, adjusting the tension involves loosening or tightening the idler pulley or the adjustment bracket. Using the appropriate tools, carefully loosen the necessary components and adjust the belt tension to the manufacturer’s recommended specifications. Once the tension is correctly set, tighten the components back into place.
3.3 Checking for Proper Tension
After adjusting the belt tension, it’s important to test the snow blower to ensure it’s engaging properly. Start the machine and engage the auger and wheels to observe their engagement. The belt should not slip or squeal, and the snow blower should move smoothly through the snow. If you notice any issues with engagement or performance, double-check the belt tension and make any necessary adjustments.
4. Sharpening or Replacing Blades
4.1 Identifying Dull Blades
Over time, the blades of your snow blower can become dull, resulting in less efficient snow clearing and potentially damaging the machine. Signs of dull blades include reduced throwing distance, uneven cutting, and excess vibration during operation. If you notice any of these signs, it’s time to sharpen or replace the blades.
4.2 Sharpening the Blades
To sharpen the blades, start by turning off the snow blower and disconnecting the spark plug wire for safety. Locate the blades underneath the machine and remove them. Using a file or a bench grinder, carefully sharpen the cutting edges of the blades. Maintain the original angle and be sure to remove any nicks or burrs. Once sharpened, reinstall the blades and ensure that they are securely fastened.
4.3 Replacing Worn Blades
If the blades are excessively worn or damaged, sharpening may not be enough. In such cases, it’s best to replace the blades entirely. Refer to your snow blower’s user manual for the correct replacement blades and instructions on how to remove the old blades and install the new ones. Follow the manufacturer’s recommendations for blade replacement to ensure optimal performance and safety.

5. Dealing with Fuel System Issues
5.1 Draining Fuel for Storage
Before storing your snow blower at the end of the winter season, it’s crucial to properly drain the fuel from the system. Stale fuel can lead to carburetor clogs and other fuel system issues, which can affect the machine’s performance when you need it next. To drain the fuel, run the snow blower until it runs out of gas. Alternatively, you can use a siphon to extract the fuel from the tank. Be sure to follow proper safety precautions when working with flammable liquids.
5.2 Cleaning or Replacing the Fuel Filter
A clean fuel filter is essential for maintaining proper fuel flow through the snow blower’s engine. Over time, the fuel filter can become clogged with debris, reducing fuel flow and affecting performance. Regularly clean or replace the fuel filter according to the manufacturer’s recommendations to ensure optimal fuel system operation.
5.3 Flushing the Fuel System
If you suspect any fuel system issues, such as clogged fuel lines or a dirty carburetor, consider flushing the fuel system. This process involves removing old fuel from the tank, adding a fuel system cleaner to the fresh fuel, and running the snow blower for a few minutes to circulate the cleaner through the system. Follow the instructions provided by the cleaner manufacturer for proper usage and safety precautions.
5.4 Using Fresh Fuel and Stabilizer
When refueling your snow blower, always use fresh gasoline. Stale fuel can cause performance issues and damage the engine over time. Additionally, consider using a fuel stabilizer if you anticipate storing the machine for an extended period. Fuel stabilizers help prevent fuel deterioration and improve engine starting when the snow blower is taken out of storage. Follow the instructions on the fuel stabilizer product for proper usage and dosage.
6. Electrical System Troubleshooting
6.1 Testing the Ignition Switch
If your snow blower’s electrical system is malfunctioning, it’s important to identify the cause for proper repair. Begin by testing the ignition switch. Turn the ignition switch to the “on” position and check for any signs of damage or wear. Use a multimeter to test for continuity in the switch. If there is no continuity, the switch may need to be replaced.
6.2 Checking Wiring Connections
Loose or damaged wiring connections can also cause electrical system issues. Visually inspect the wiring harness, connectors, and terminals for any signs of damage or disconnection. Ensure that all connections are secure and free from corrosion. If you discover any damaged wiring, it’s recommended to seek professional assistance for repair or replacement.
6.3 Repairing or Replacing Faulty Wiring
If you encounter faulty or damaged wiring during your inspection, it’s important to address the issue promptly. Repairing or replacing faulty wiring is crucial for the safe and reliable operation of your snow blower. If you’re comfortable working with electrical systems, you can attempt the repairs yourself by carefully following the manufacturer’s instructions. However, if you’re uncertain or inexperienced, it’s best to consult a professional technician to avoid further damage or injury.

7. Inspecting and Adjusting Skid Shoes
7.1 Identifying Skid Shoe Wear
Skid shoes are designed to prevent the metal auger from scraping against the ground, reducing the risk of damage to the snow blower and the surface being cleared. Over time, the skid shoes can wear down and require adjustment or replacement. Inspect the skid shoes for signs of wear, such as cracks or significant reduction in height. If the skid shoes are excessively worn or damaged, they should be replaced to maintain optimal snow blower performance.
7.2 Replacing Skid Shoes
When replacing skid shoes, refer to your snow blower’s user manual for the correct replacement parts and installation instructions. Start by turning off the snow blower and disconnecting the spark plug wire for safety. Remove the old skid shoes by removing the bolts or pins that secure them to the snow blower. Install the new skid shoes and tighten the securing bolts or pins according to the manufacturer’s recommendations.
7.3 Adjusting Skid Shoe Height
To adjust the height of the skid shoes, first, determine the desired clearance between the bottom of the auger housing and the ground. Adjust the skid shoe height accordingly, ensuring an even clearance on both sides of the snow blower. Loosen the nuts holding the skid shoes in place and adjust them to the desired height. Once adjusted, tighten the nuts securely to prevent them from loosening during operation.
8. Addressing Auger and Impeller Problems
8.1 Clearing Debris from Auger and Chute
Over time, debris such as rocks, sticks, and chunks of ice can get lodged in the auger and chute of your snow blower. This can impede the proper functioning of these components and cause excessive strain on the machine. Regularly inspect and clear any debris from the auger and chute to prevent clogs and damage. Turn off the snow blower and disconnect the spark plug wire for safety. With a broom handle or other suitable tool, carefully remove any debris stuck in the auger or chute. Take care not to damage the blades or other moving parts while performing this task.
8.2 Aligning the Auger and Impeller
If you notice that the auger and impeller are not aligned properly, it can affect the snow blower’s performance and potentially cause damage. Misalignment can occur due to impact with hard objects or normal wear and tear. To address this issue, turn off the snow blower and disconnect the spark plug wire for safety. Examine the connections between the auger and impeller, ensuring that they are properly aligned and securely fastened. Adjust as necessary and tighten any bolts or fasteners to secure the alignment.
8.3 Repairing or Replacing Damaged Parts
In the event of damage to the auger, impeller, or other components, repairs or replacements may be necessary. If you’re comfortable handling these repairs, consult your snow blower’s user manual for specific instructions on replacing damaged parts. Many manufacturers offer replacement parts for their machines, ensuring proper fit and compatibility. If you’re unsure or inexperienced, it’s recommended to consult a professional technician for repairs to avoid further damage or injury.

9. Belt and Pulley Replacement
9.1 Identifying Worn Belts and Pulleys
Belts and pulleys play a crucial role in transferring power within your snow blower’s engine. Over time, they can wear down or become damaged, affecting the functionality and performance of the machine. Inspect the belts and pulleys for signs of wear, such as fraying or cracking belts and misaligned or damaged pulleys. Additionally, listen for any unusual noises during operation, as these can also indicate belt or pulley issues. If you notice any of these signs, it’s time to replace the worn or damaged components.
9.2 Removing and Replacing Belts
To remove and replace worn or damaged belts, refer to your snow blower’s user manual for specific instructions. Generally, this process involves loosening or removing the necessary components to relieve tension on the belt, such as the idler pulley or adjustment bracket. Remove the old belt and replace it with a new one that matches the manufacturer’s recommendations. Reassemble the components while ensuring the proper tension is applied to the new belt. Refer to the user manual for any specific belt tension adjustment instructions.
9.3 Inspecting and Replacing Pulleys
Inspecting and replacing pulleys is a more complex task and may require advanced knowledge and experience. If you suspect any issues with the pulleys, such as misalignment or damage, it’s recommended to consult a professional technician for inspection and replacement. They can accurately diagnose the problem and ensure that the correct pulleys are installed to restore optimal performance.
10. Winter Storage and Maintenance Tips
10.1 Cleaning and Drying the Snow Blower
Before storing your snow blower at the end of the winter season, it’s important to clean and dry the machine thoroughly. Remove any accumulated dirt, snow, or debris from the auger, chute, and other components. Wipe down the exterior surfaces with a cloth or sponge to remove any moisture. Allow all parts to dry completely before storing to prevent rust and corrosion.
10.2 Storing in a Dry and Covered Area
When not in use, it’s crucial to store your snow blower in a dry and covered area to protect it from the elements and minimize the risk of damage. A garage, shed, or other covered space is ideal for storage. Ensure that the storage area is free from excessive moisture, as this can lead to rust or other issues. If storing the snow blower outdoors is unavoidable, invest in a sturdy, weather-resistant cover to provide additional protection.
10.3 Using Fuel Stabilizer
When preparing your snow blower for storage, consider adding a fuel stabilizer to the remaining fuel in the tank. Fuel stabilizers help prevent fuel degradation and maintain engine performance during long periods of inactivity. Follow the instructions provided by the fuel stabilizer manufacturer for proper usage and dosage. It’s important to run the snow blower for a few minutes after adding the stabilizer to allow it to circulate through the fuel system.
10.4 Performing a Pre-Season Maintenance Check
Before the next winter season begins, it’s advisable to perform a pre-season maintenance check to ensure that your snow blower is in optimal condition. Follow the steps outlined in this article, including checking and replacing fuel, inspecting belts and pulleys, and performing general maintenance. Addressing any potential issues before the snow starts falling will help ensure that your snow blower is ready to perform reliably when you need it most.
By following these tips for troubleshooting common snow blower problems, performing regular maintenance and cleaning, and addressing specific issues, your snow blower will be in excellent condition to tackle even the toughest winter storms. Remember to consult your snow blower’s user manual for specific instructions and recommendations on maintenance and repairs. With proper care and attention, your snow blower will continue to serve you well for many winters to come. Stay safe and enjoy worry-free snow clearing!

